Enabling and Disabling Materials (PlasTell and CarpeTell)
You can enable and disable different materials based on what types of plastics you expect in your waste stream.
Pre-requisites
Please add the instrument to your account if you haven't already. For any changes to take effect, the device needs to be connected to Wi-Fi.
Step 1 - Find your instrument
Step 1 - Find your instrument
Phone/Tablet version | Desktop version |
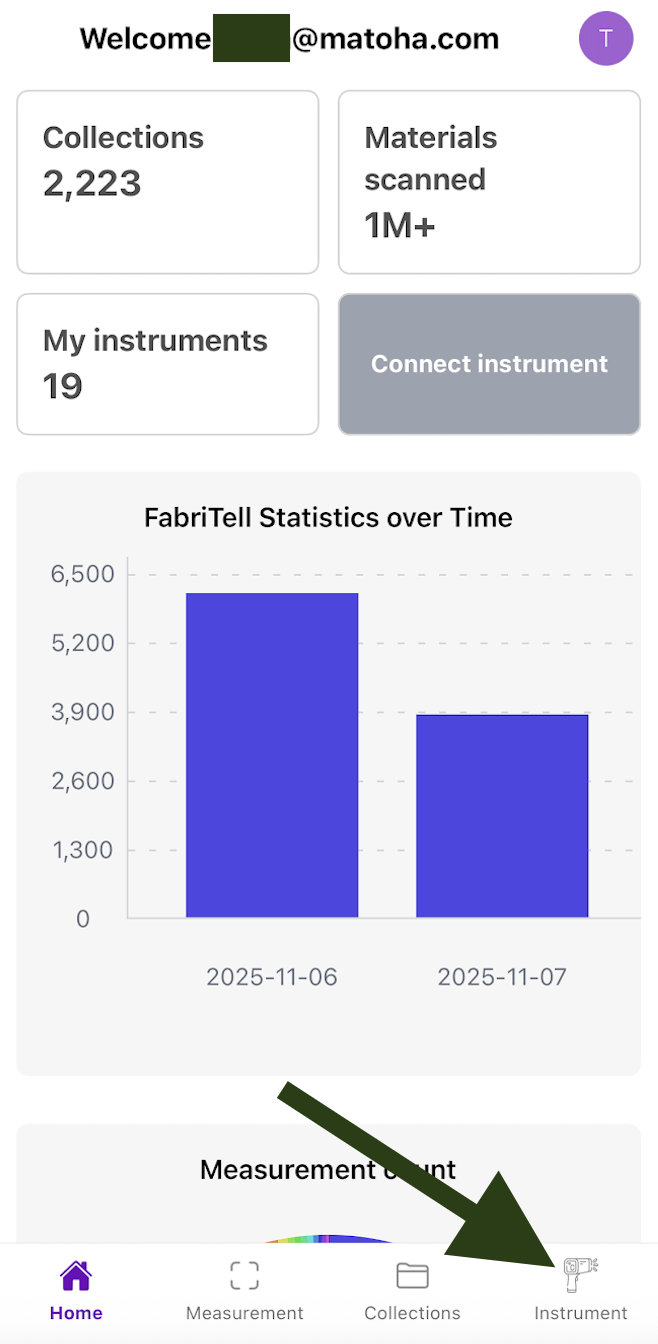
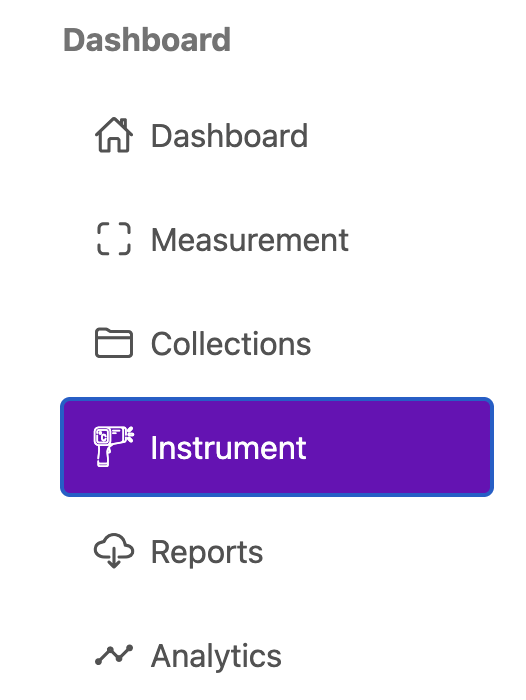
Go to your instruments from the menu at the bottom of your screen.
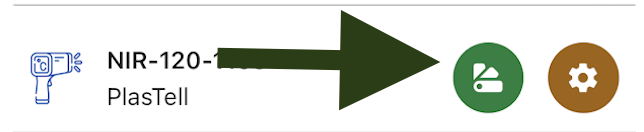
Your screen will then show you all the devices connected to your account. Check which machine you want to configure and press the "Materials" icon. If you can't see your machine here, you need to add it to your account first (➕ Adding an Instrument to your Account).
| Go to your instruments from the menu on the side.
Your screen will then show you all the devices connected to your account. Check which machine you want to configure and press "Edit Materials". If you can't see your machine here, you need to add it to your account first (➕ Adding an Instrument to your Account).
|

Step 2 - Enable and/or disable materials
Phone/Tablet version | Desktop version |
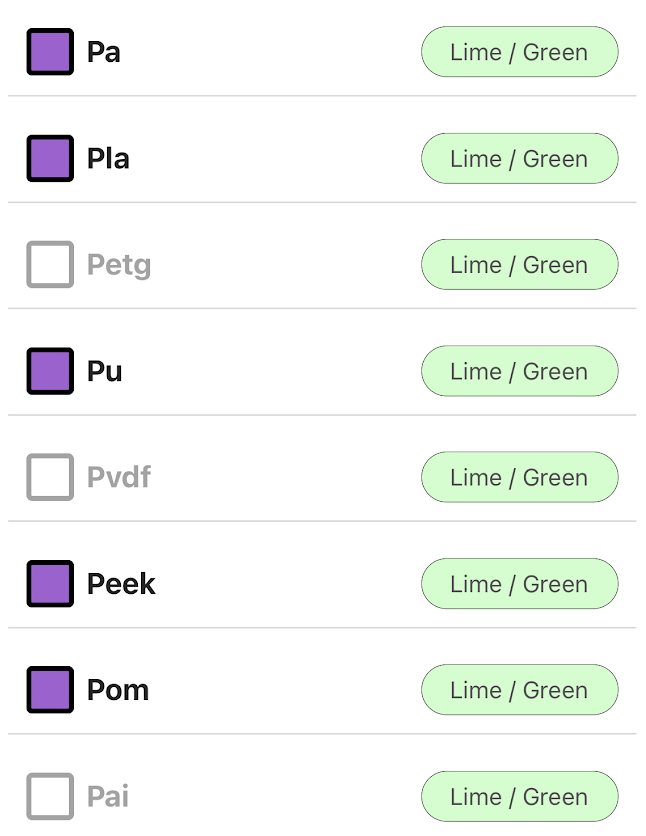
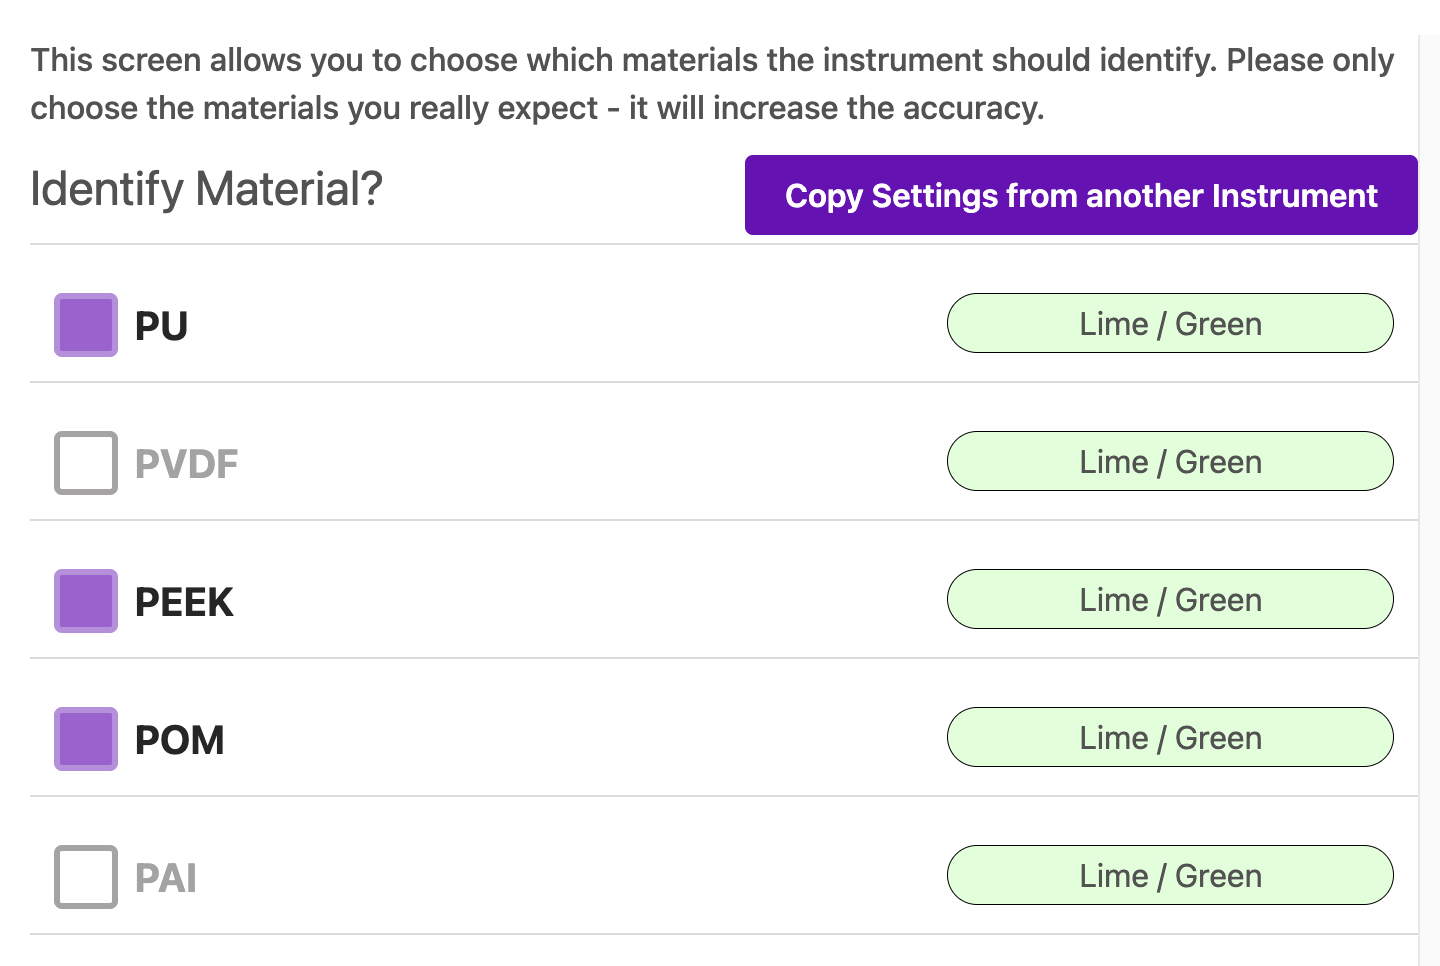
You will now be directed to a new page showing a list of materials that your instrument can identify. The materials enabled on your machine (the materials your instrument can identify) are highlighted in green, while those which are disabled (and therefore, will not be identified) are highlighted in red.
To enable a new material, simply click on the name (or white square) of that material. To disable a material, click on the name (or purple square) of that material. Once you have selected all the materials you want your machine to identify, press "Save materials" and restart your device. | You will now be directed to a new page showing a list of materials that your instrument can identify. The materials enabled on your machine (the materials your instrument can identify) have a purple square on the left, while the materials that are disabled (and therefore, will not be identified) have a white square and are greyed out.
To enable a new material, simply click on the name (or white square) of that material. To disable a material, click on the name (or purple square) of that material. Once you have selected all the materials you want your machine to identify, press "Save materials" and restart your device. |