Configuring the material indicator LED (PlasTell)
Please watch our tutorial video:
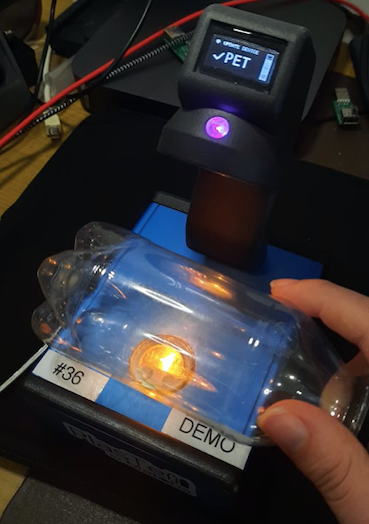
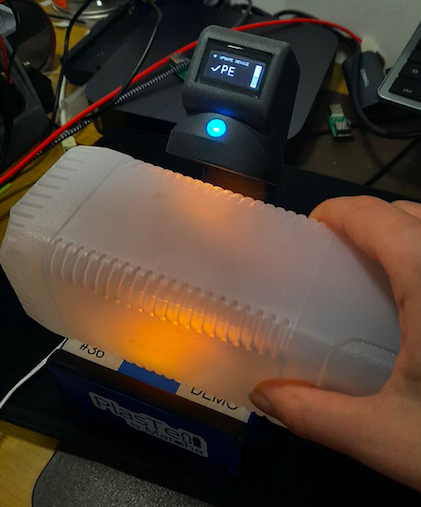
By allocating specific colours of the colour LED on the machine to different plastic materials, you can make scanning plastics easier and faster - see below, the machine shows purple for PET and blue for PE. By following this guide you can set up the colours in any way you wish. For instance, you could configure it to show green for material you want to keep and red for rejected material.
Before you begin
Please make sure your app is fully updated (from the App Store / Google Play, as any other app). It is a requirement that you have already added the instrument to your account and connected the machine to Wi-Fi.
Step 1 - Find your instrument
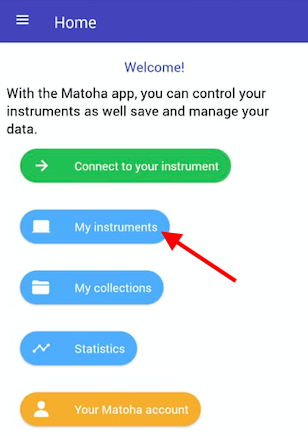
Open our Matoha app and press "My instruments".
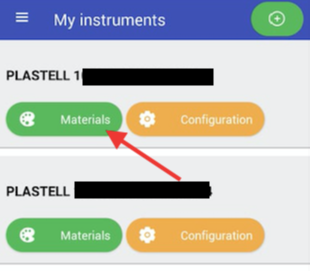
Your screen will then show you all the devices connected to your account. Check which machine you want to configure and press "Materials". If you can't see your machine here, you need to add it to your account first.
Step 2 - Assign colours to different materials
The screen below shows the colours assigned to the various materials. As a side note, you can also choose which materials should be identified.
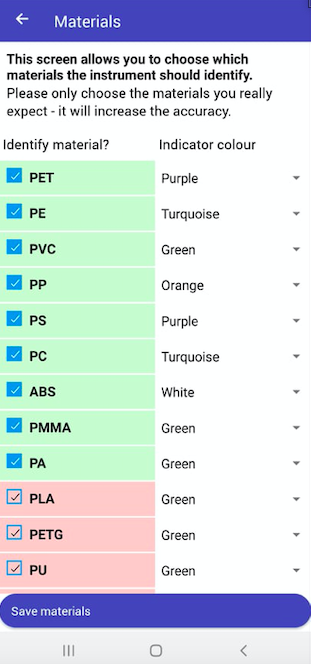
To make your spectrometer LED show a specific colour for a particular plastic, tap on the current LED colour and choose the colour you want. Then, select "Save materials" to keep your changes.
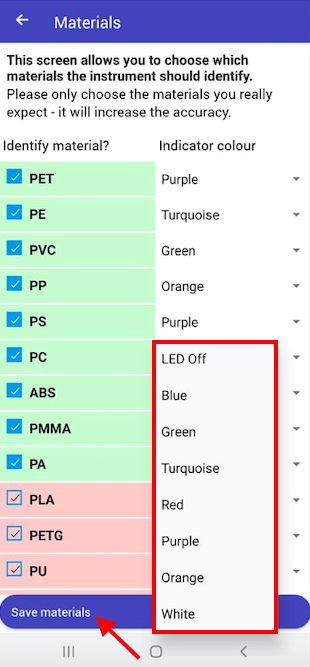
Note that you can assign the same colour for different materials!
Then, restart your device and your machine will be ready for use, showing your desired colours.