Making and Using Own Spectra Libraries (PlasTell)
If the video does not start, use this link.
We try to include as many materials and spectra in our plastics spectra library as possible - but sometimes customers have special requirements or would like to identify non-standard materials. That's why we have just added the ability to add own spectra and materials!
Note: at the moment, this only works for PlasTell.
0. Prerequisites
Step 1 - Create a spectra collection
First, you need to create a new collection.
Step 2 - Add custom materials (optional)
If you wish to add your own materials, please read further - if not, skip to section 3.
Phone/Tablet version | Desktop version |
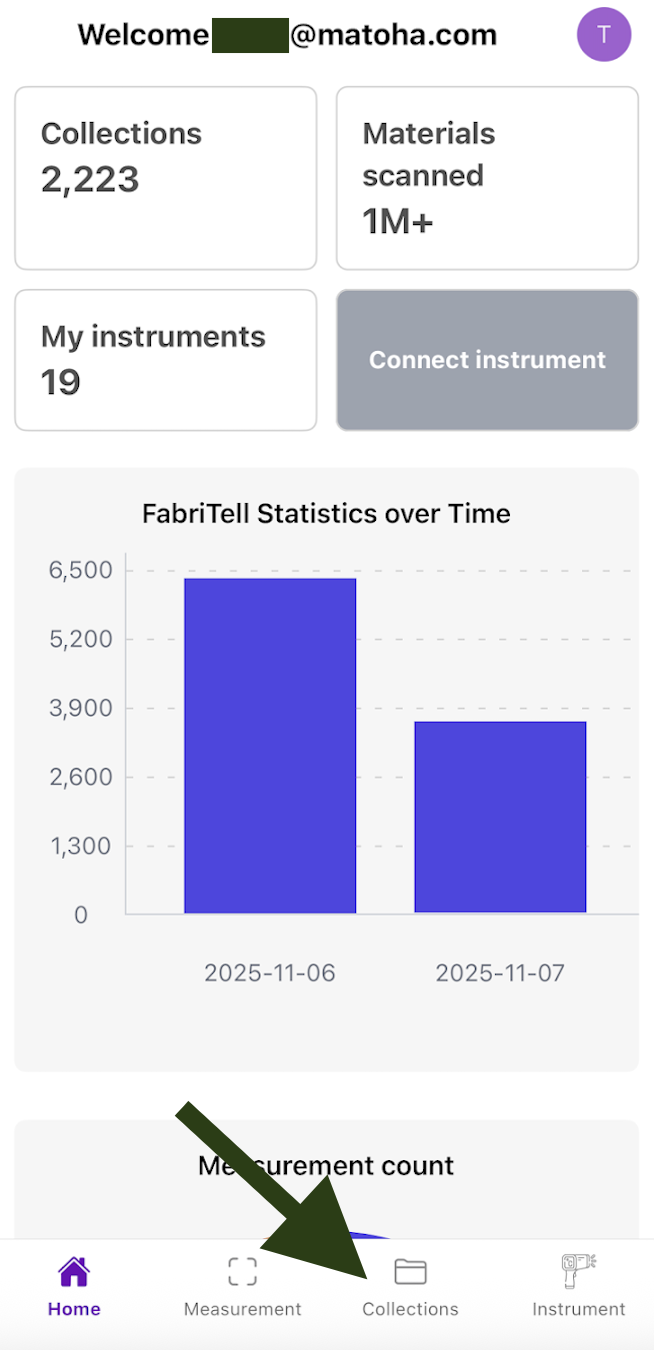
1.Click on "Collections" from the bottom menu.
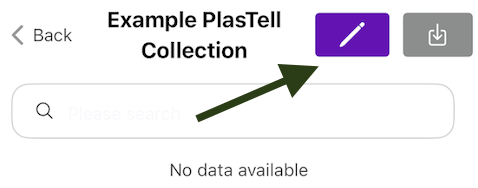
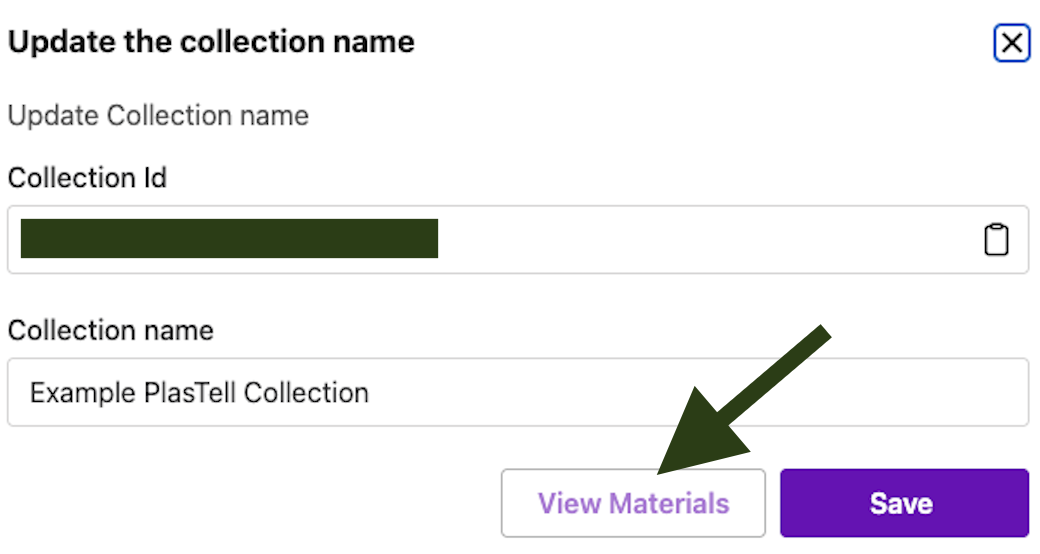
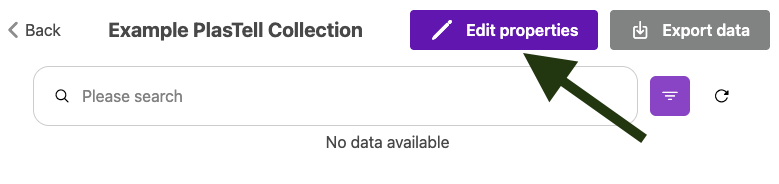
2. Select the collection you would like to add your new material to by clicking on it. 3. Click on "Edit properties" icon. 4. A pop up will appear, click on "View Materials".
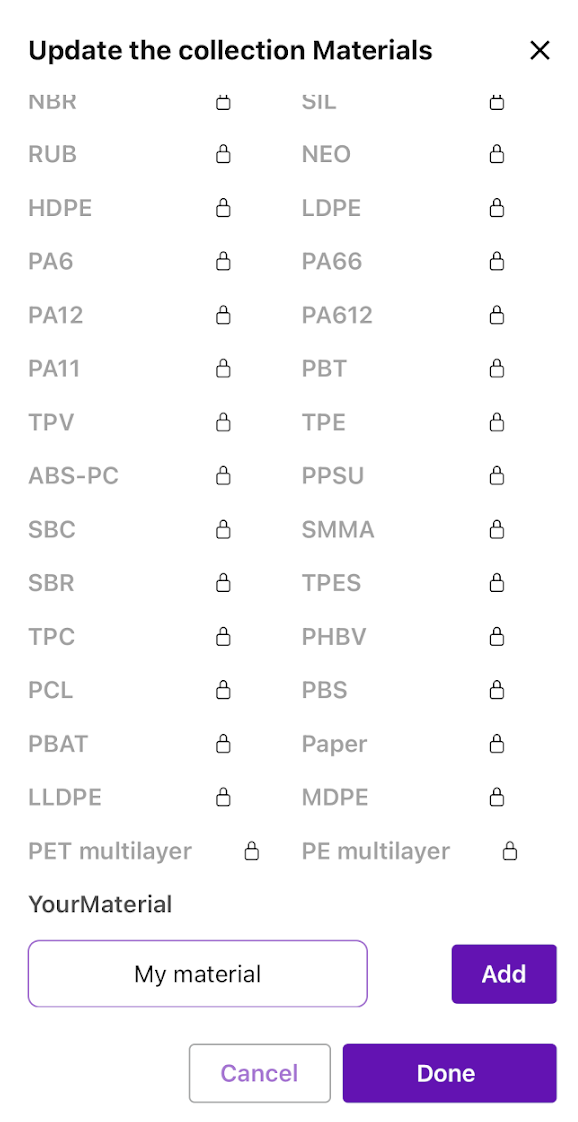
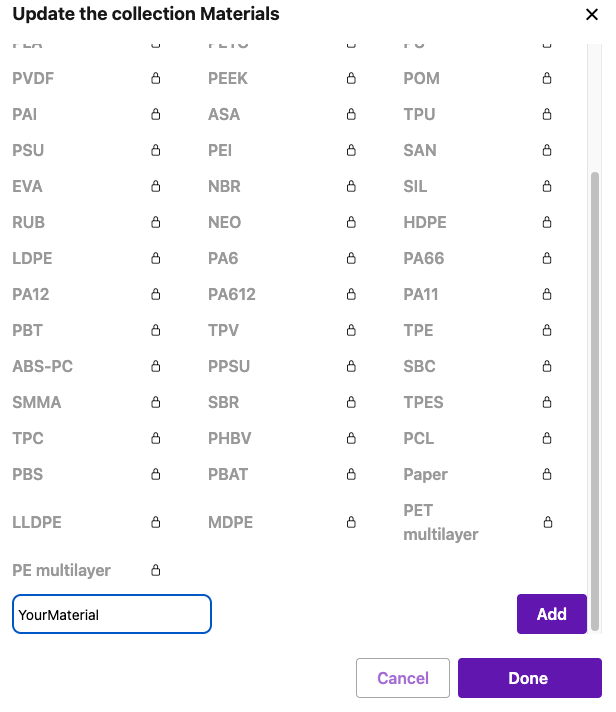
5. Scroll to the bottom, name your new material and click on "Add". You can add several new materials and when ready, click on "Done". | 1.Click on "Collections" from the left side menu.
2. Select the collection you would like to add your new material to by clicking on it. 3. Click on "Edit properties".
4. A pop up will appear, click on "View Materials".
5. Scroll to the bottom, name your new material and click on "Add". You can add several new materials and when ready, click on "Done".
|

Step 3 - Enable the custom library in device settings
Phone/Tablet version | Desktop version |
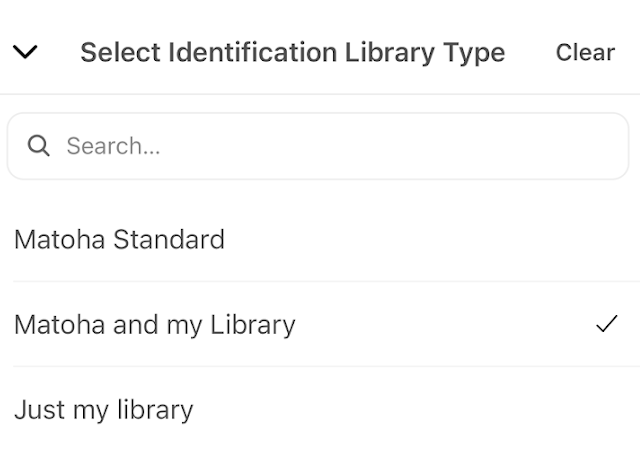
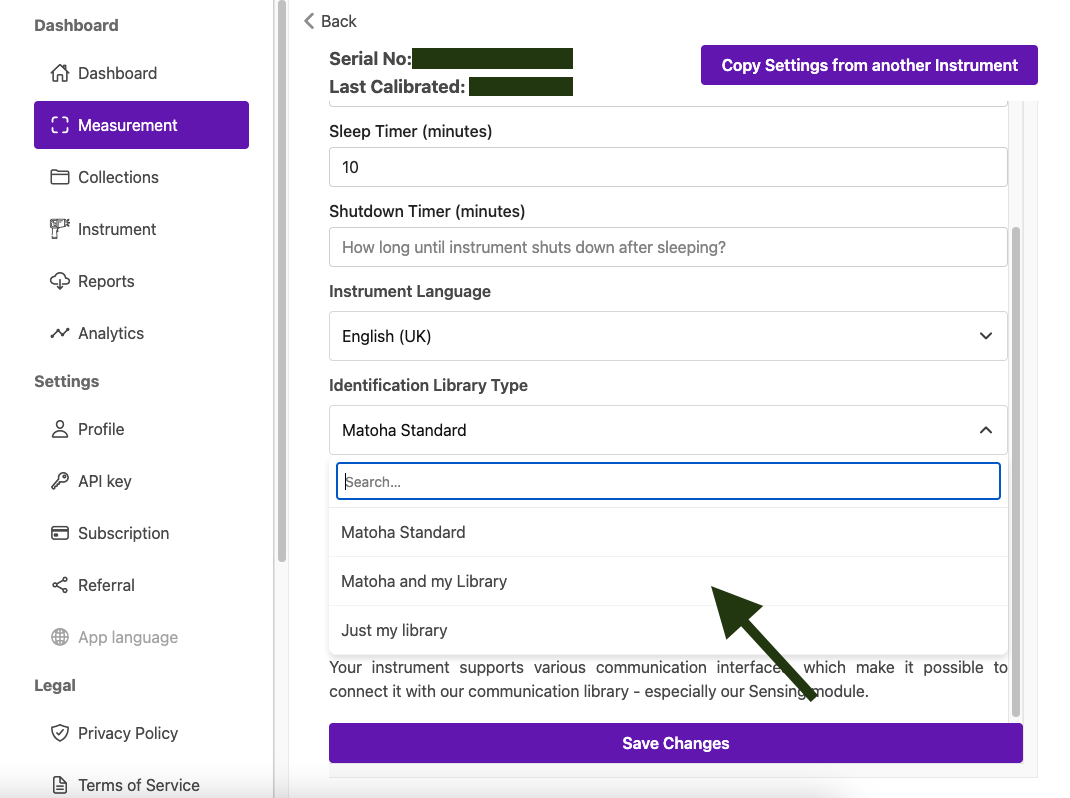
1.Go to instrument settings. 2. From the drop down menu for "Identification library type", select if you would like "Matoha and my Library" (i.e. your new material/s in addition to the standard Matoha library), or "Just my Library" (i.e. only your new material/s).
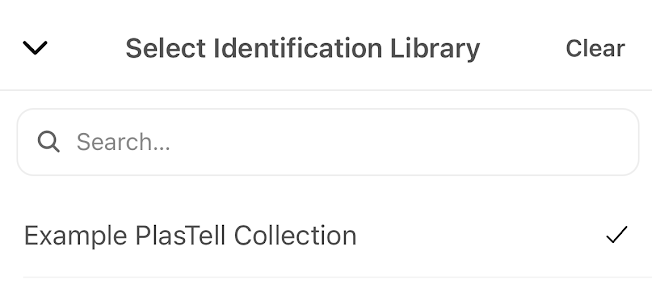
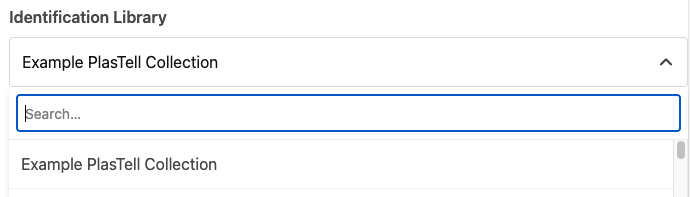
3. Pick the collection you added your new material to as the "Identification Library" from the drop-down list.
4. Save your changes. | 1.Go to instrument settings. 2. From the drop down menu for "Identification library type", select if you would like "Matoha and my Library" (i.e. your new material/s in addition to the standard Matoha library), or "Just my Library" (i.e. only your new material/s).
3. Pick the collection you added your new material to as the "Identification Library" from the drop-down list.
4. Save your changes. |
Step 4 - Enable custom materials (optional)
Please skip this step if you are not using custom materials.
Phone/Tablet version | Desktop version |
1.On the My instruments screen (as above), find your PlasTell device and click on "Edit Materials" icon.
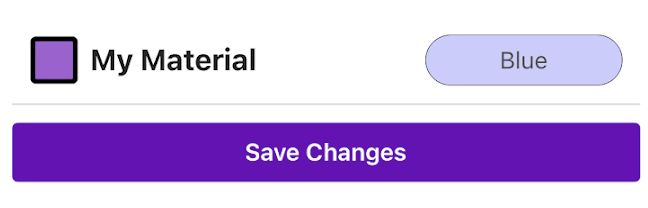
2. Find your material and enable it by clicking on the square on the left hand side of the material. A purple square means that your material is enabled.
Save your changes by clicking on "Save Changes" | 1.On the My instruments screen (as above), find your PlasTell device and click on "Edit Materials".
2. Find your material and enable it by clicking on the square on the left hand side of the material. A purple square means that your material is enabled.
Save your changes by clicking on "Save Changes" |


Step 5 - Add spectra to the library
Please start the machine and then connect to it using our App. After you have connected to the machine, open the Measurement interface (the use of which is explained here).
Measure a sample. Its spectrum will come up. Then, choose the collection you have created earlier, the material of the sample and save it.
Step 6 - Use the newly created library!
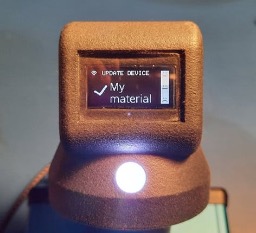
Restart the machine and make sure it is connected to Wi-Fi. It will download the newly added spectra from our Cloud then restart itself.
If everything worked, your device should now be able to identify your new material:
If you have any issues, please contact us!